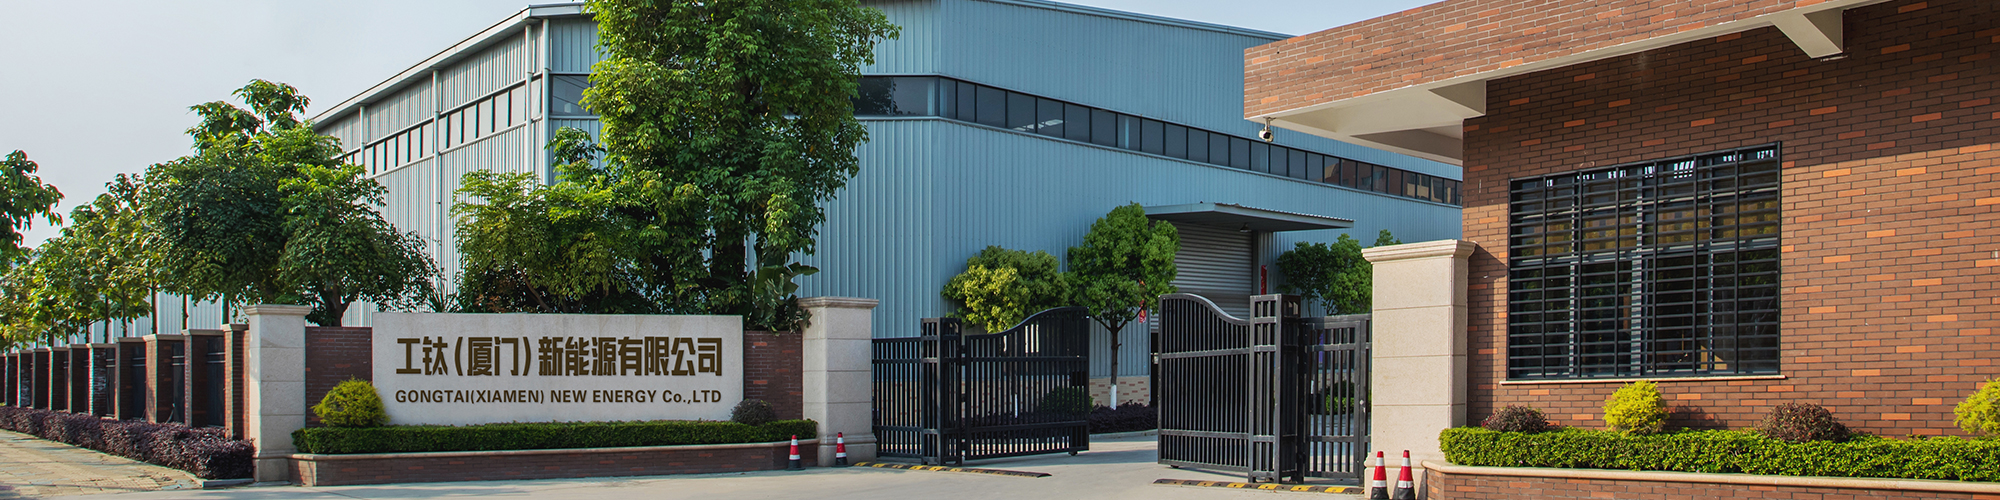
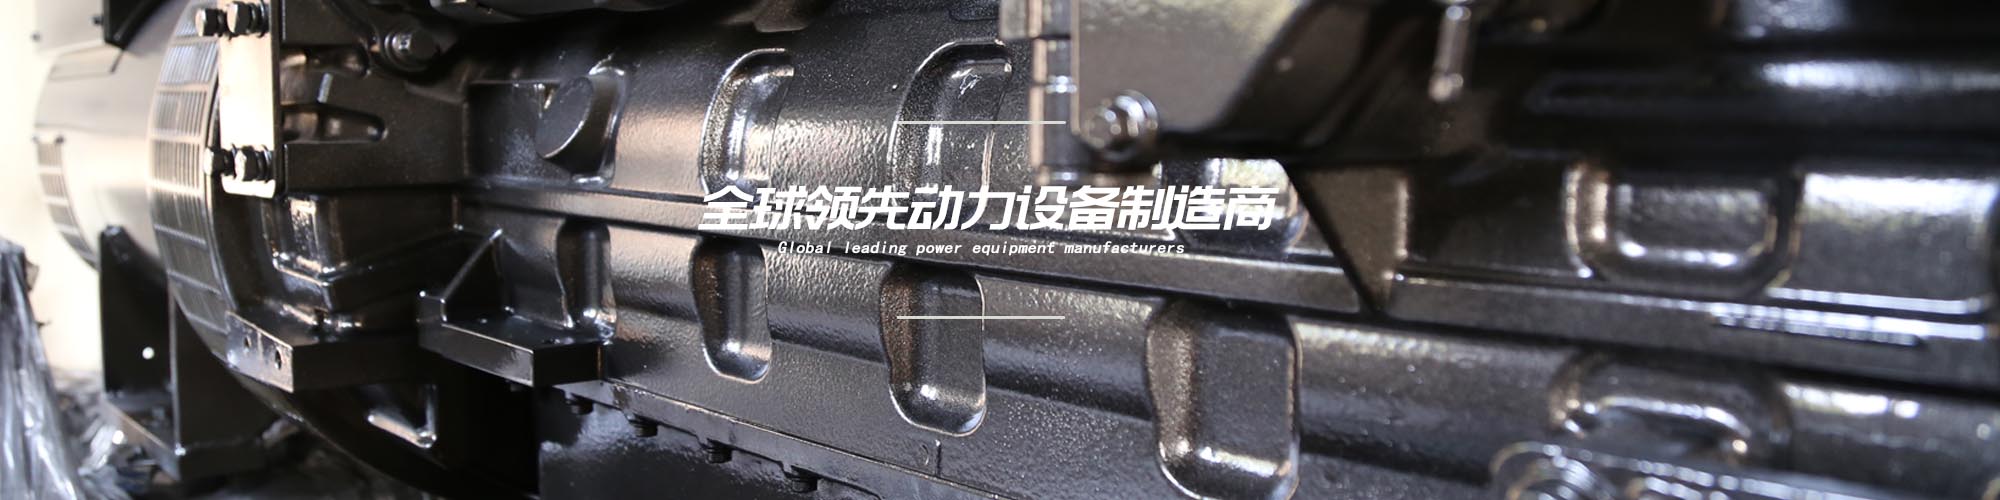

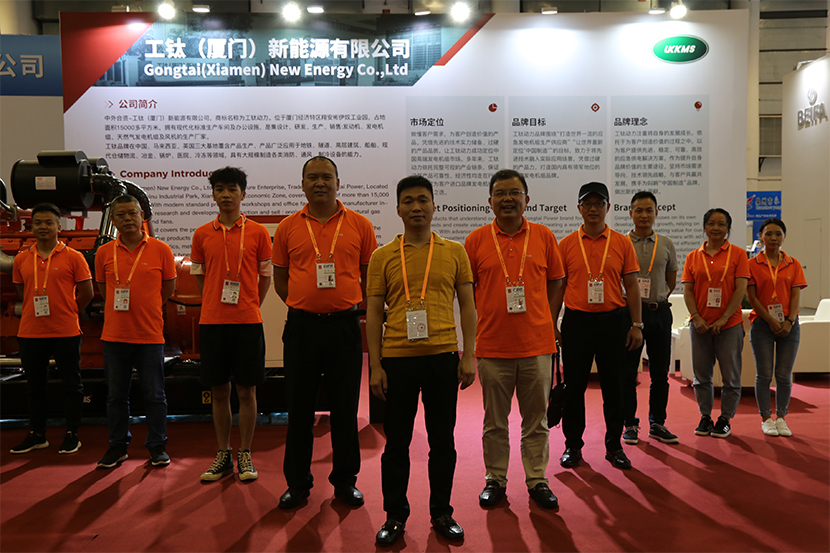
m6米乐在线登录app位于厦门经济特区翔安彬伊奴工业园,占地面积15000多平方米,拥有现代化标准生产车间及办公设施,m6米乐登录最新app是集设计、研发、生产、销售:发动机、发电机组、天然气发电机组及风机的生产厂家。 m6米乐网页版在线登录引进国际先进技术及系统软件技术,进行优化组合,设计、开发了节能、环保、低噪、高效的动力性能产品。该机组从发动机、发电机到控制器等全部为工钛生产,使机组效能达到最佳配置,制造功率范围可达2400kw。 m6米乐在线登录app致力于中国智能风机风阀技术改进、更新换代,提高风机性能。为确保产品质量、提高企业信誉,工钛非常注重技术人才培养和设备的引进。 m6米乐登录最新app在中国、马来西亚、英国三大基地覆含产品生产、产品广泛应用于地铁、隧道、高层建筑、船舶、现代仓储物流、冶金、锅炉、医院、冷冻等领域,具有大规模制造各类消防、通风、制冷设备的能力。 您的满意是m6米乐网页版在线登录永恒的追求! ...
了解详情 >>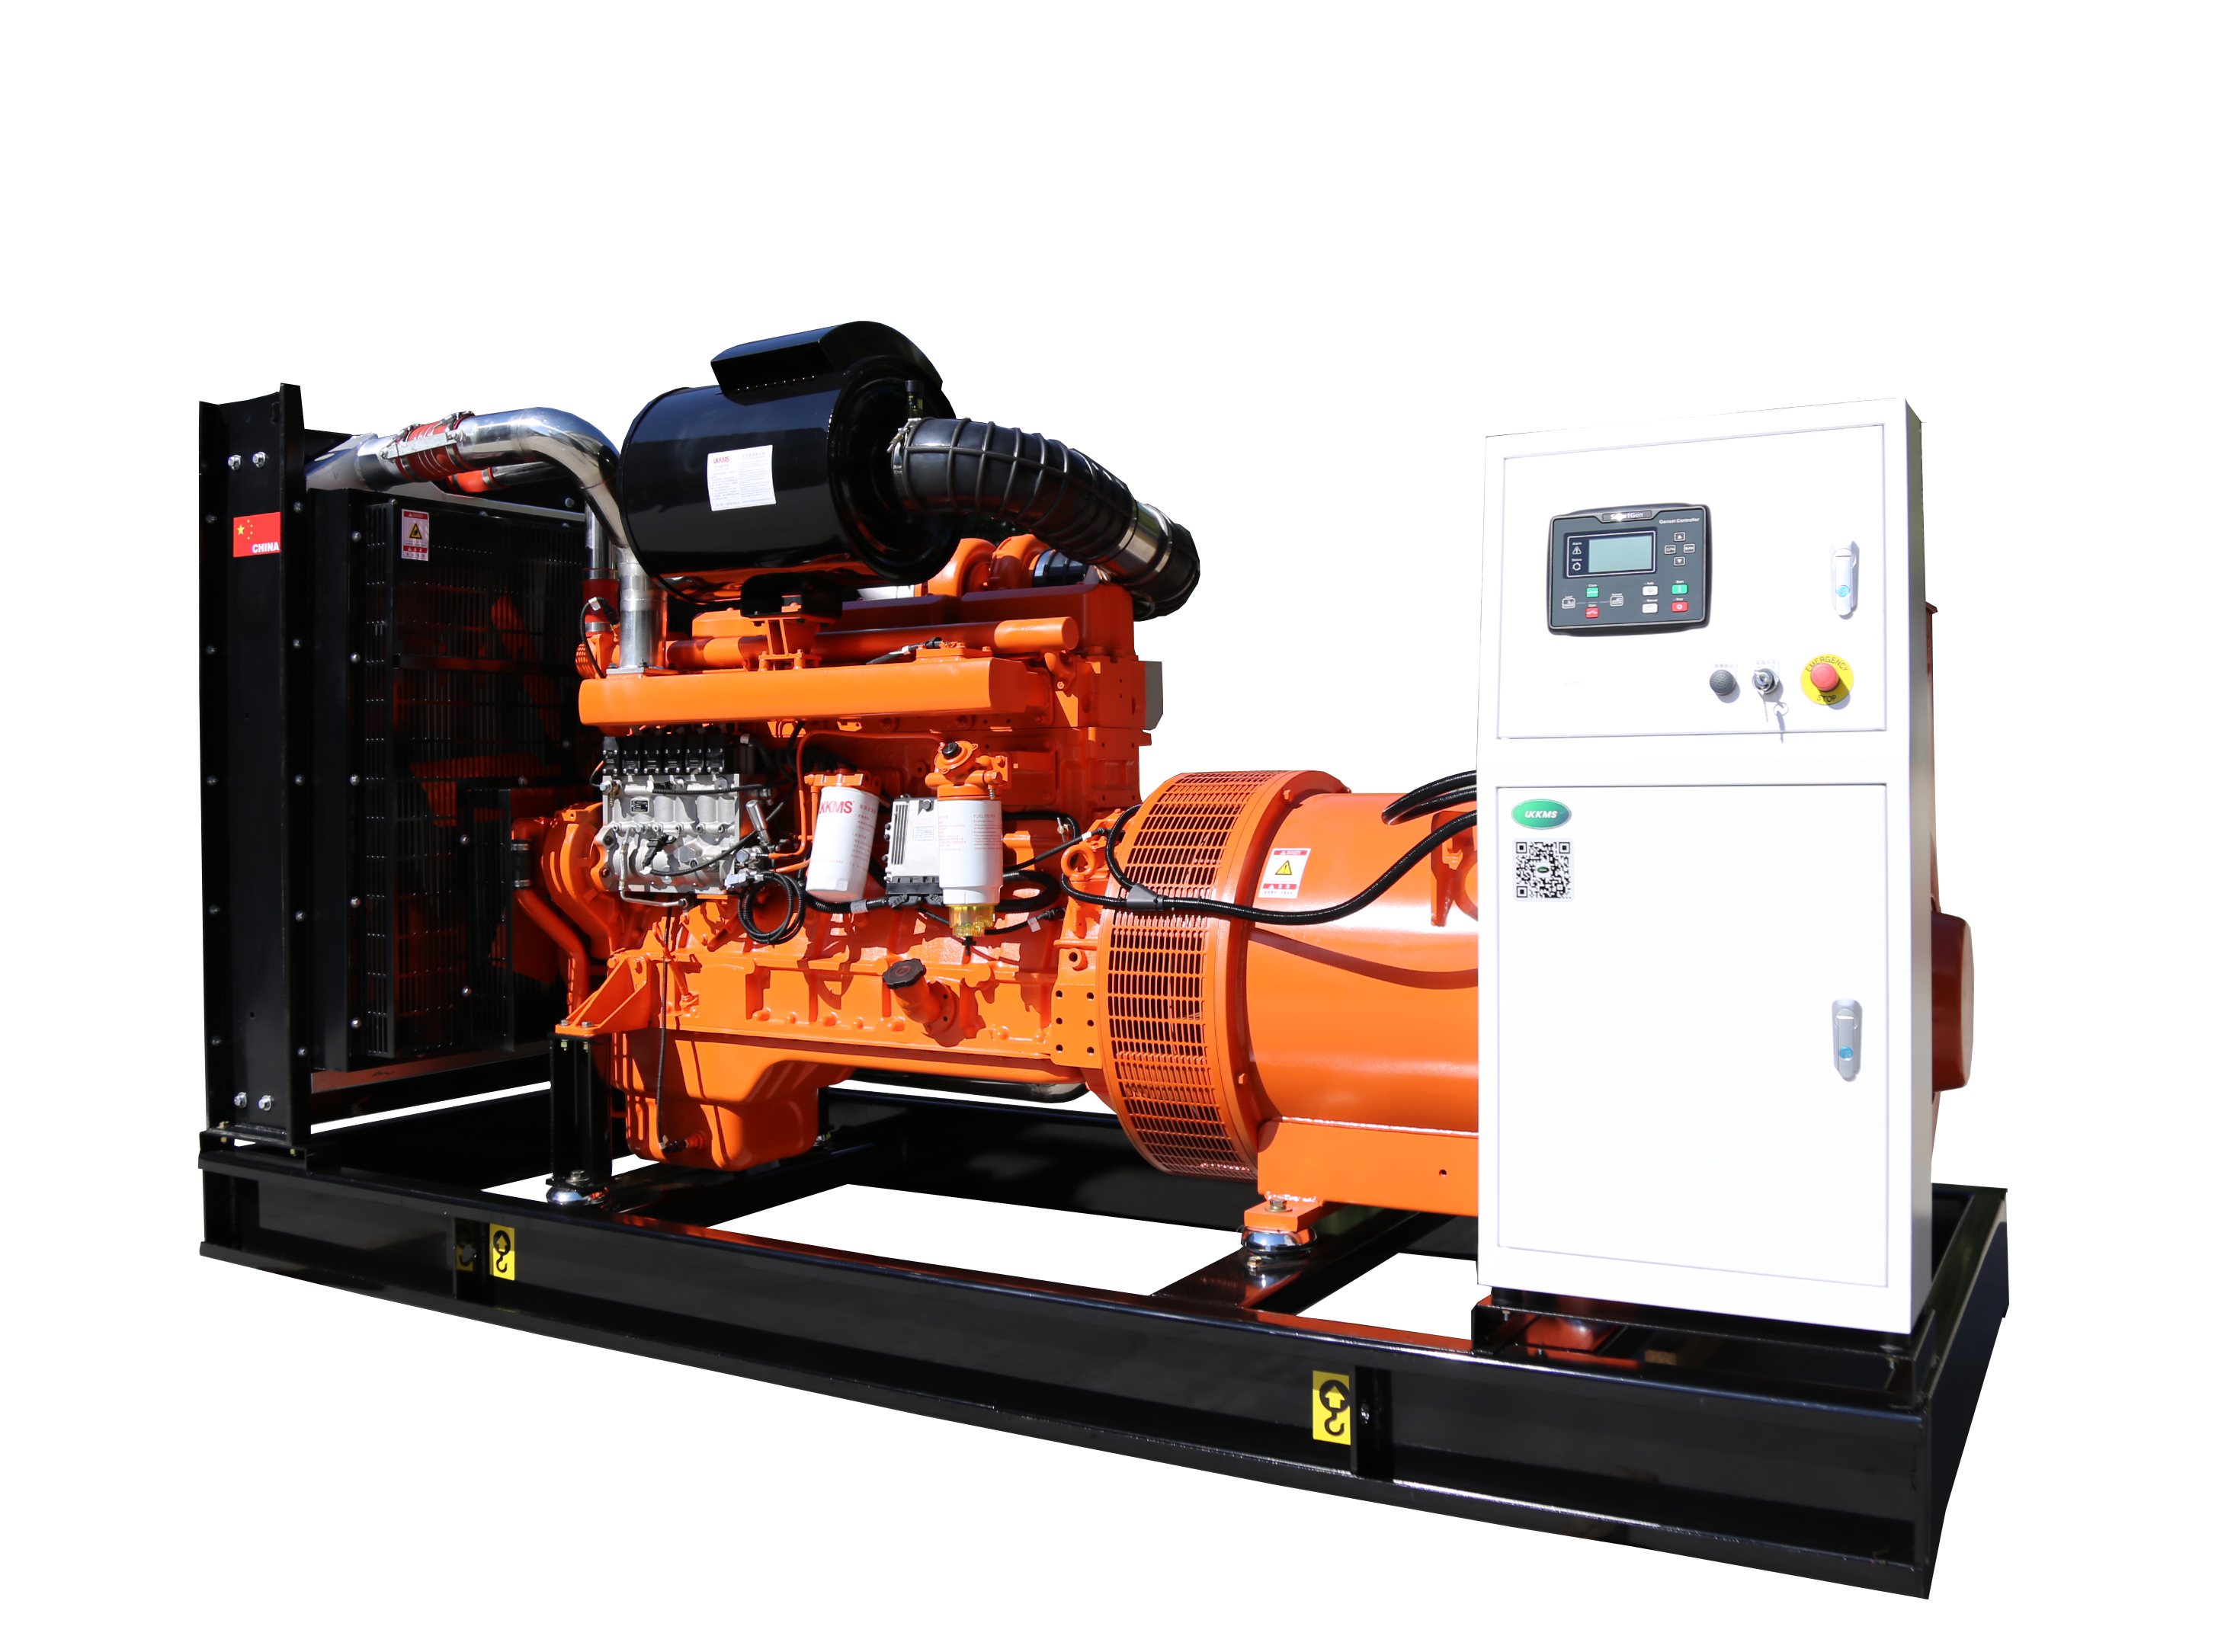
-
 【48812】电子技能使用-电子 2024-04-26
 -
【48812】风机盘管哪个品牌好 风机盘管品牌介绍【详解】 2024-04-26
-
【48812】青岛市城阳区人民医院中央空调楼层漏水管道及风机盘管修理替换项目竞争性商量公告 2024-04-25

风机盘管安装那些事值得一看!
了解详情 >>
03-09
2024
2024